I made a top!!!! Spotlight had a fabric sale ages ago and they had this really pretty floral print in rayon.
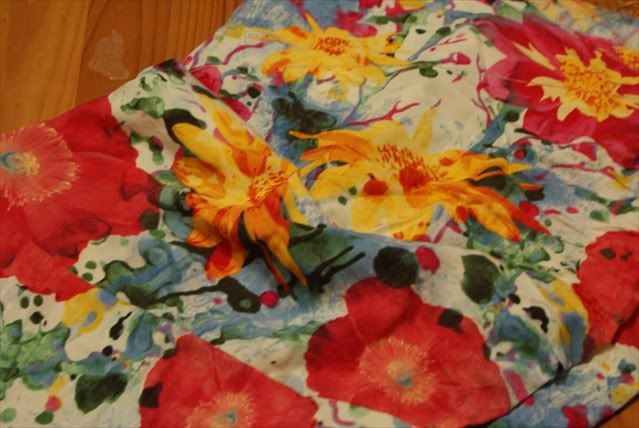
I fell utterly in love with the print, but especially the feel of the rayon fabric. I always thought that rayon was a man-made fibre, but I was wrong-it's actually made of cellulose, a natural fibre from plants, and created as a cheaper alternative to silk. It is so light and breezy, breathes really well, very comfortable,and feels like a lightweight, really drapey silky cotton. When I first saw this fabric I persuaded myself that I did not need it. But I came back and got it after seeing it on the bolt a few times. I knew exactly what I would make with it, but after buying my 1.2 metres of it, I never got around to making anything for months and months (hint: I bought it last summer and this summer is almost at it's end!)
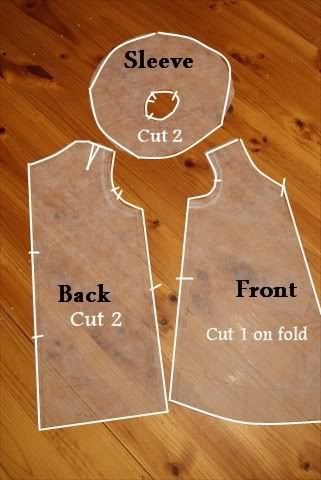
I wanted something really simple, no closures, minimal darts, no facings. I wanted it to be comfy, yet easy to wear and very feminine. So, I dug out my self-drafted maternity smock pattern. Even though it was drafted with a baby bump allowance, it is great as a loose smock top. And I love the version with the circular drape sleeves. This will be top number 4 that I've made with this pattern. See the other three in the link above.
Wyld Man was away for 5 days in Melbourne a couple of weekends ago, so I decided against feeling lonely and neglected (which I was for a couple of days-after the babies go to bed at 7pm, there's no one to talk to!) and sat down and cut and sewed everything in one night.
I used my brand new rotary cutter and self-healing mat to cut out. It is so quick! I don't think I'll be going back to scissors!

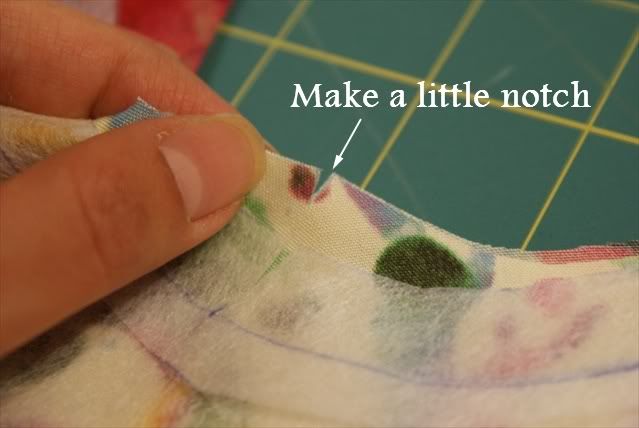
Make all the appropriate markings for darts and notches.
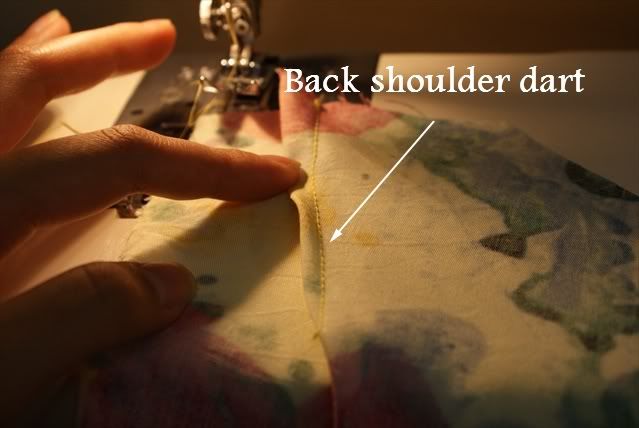
I sewed the back darts first.
Then I decided to use a french seam for this top-my overlocker has been acting up and wasn't available, and I wanted a neat finish inside. This is the first time I've use a french seam. I feel so chic! It looks really neat as it encloses all the raw edges. I prefer it to overlocking the edges-but I wouldn't use it on a thicker fabric.
To sew a flat-fell seam, put wrong sides of fabric together and sew 3/8 inches from the edge. I used this seam finish on the back centre seam, side seams and the shoulder seams.


Now press the seam open and flat, then press to one side, turn it over so that right sides are together and stitch 1/4 inch from the edge. Make sure the raw edge has been neatly trimmed and you don't catch any threads. So because my seam allowance was 5/8 inch, sewing the first seam at 3/8inch and the second seam at 1/4 inch makes 5/8 inch! I didn't figure that out till recently-duh! Press the seam to one side.

I'll show you the french seam later.
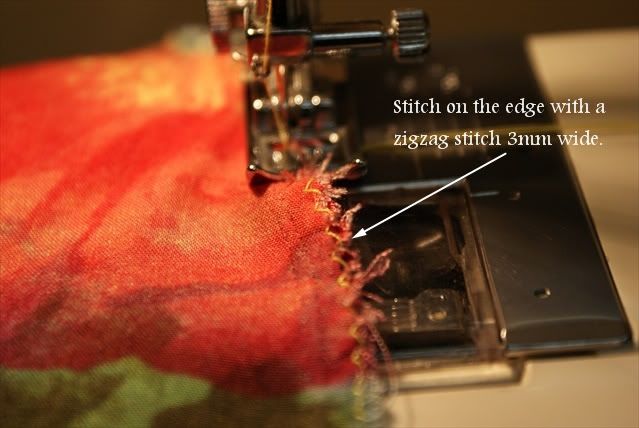
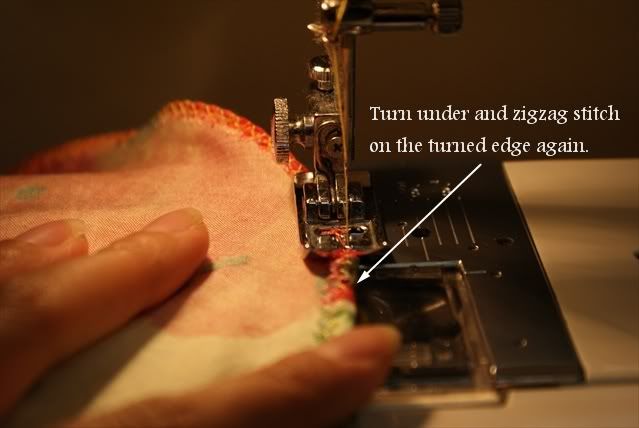
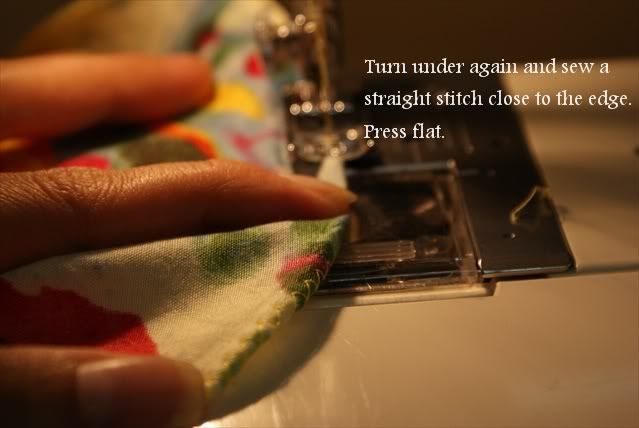
Now to hem the sleeves and the bottom of the main garment. For this fabric, which is terribly ravelly, I zig zag the edge, turn and zig zag again, then turn under again, and finally topstitch for a neat finish.
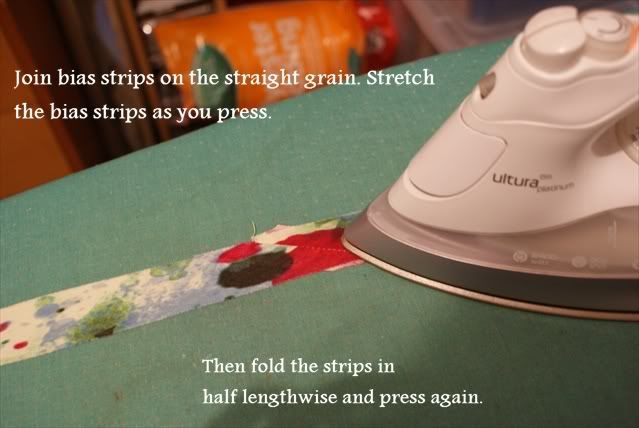
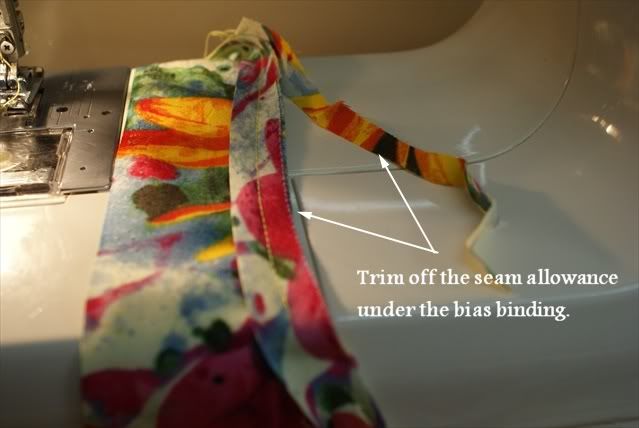
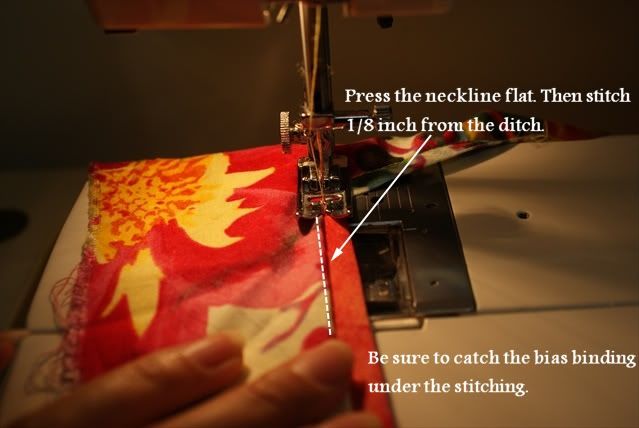
Now for the neckline. First we join the bias strips, making sure it is longer than the neckline. Then press it in half, stretching the bias as you press. It doesn't hurt to shape the bias binding in a curve too.
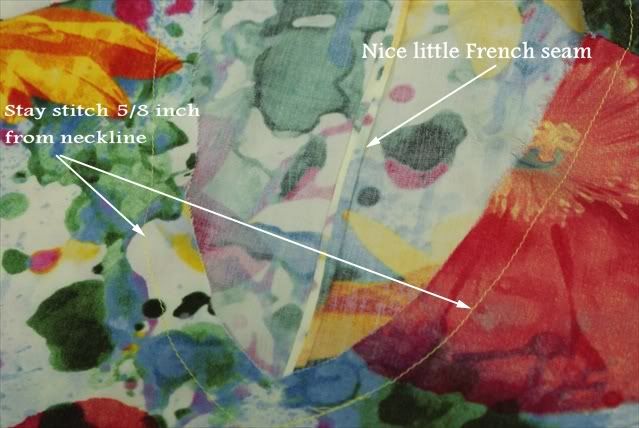
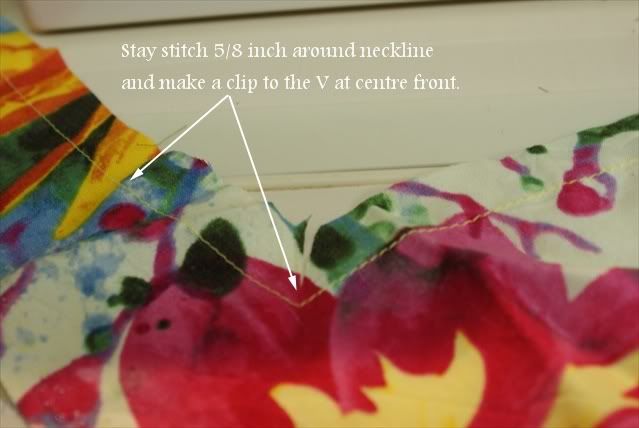
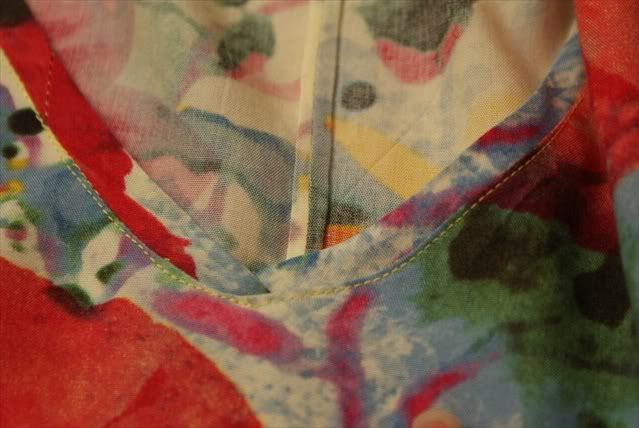
See the pretty little french seam? So neat! Now we stitch 5/8 inch all around the neckline-staystitching it to prevent the neckline stretching. This is because the neckline is cut curved which means it is off grain and on the bias and handling it will stretch the fabric, distorting the neckline.

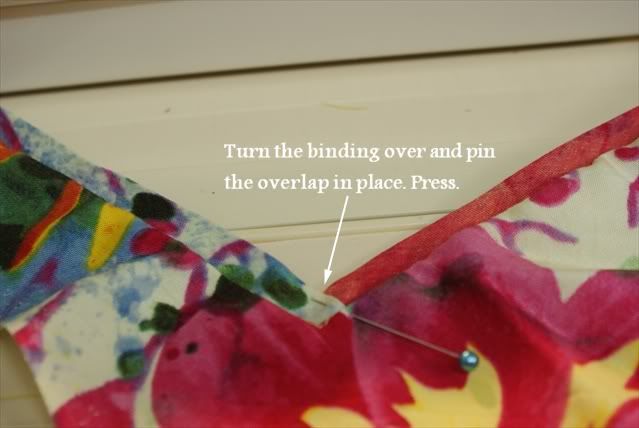
Sew the middle of the bias binding but stop 1 inch from either side of the centre front dot. Press the bias binding so that the folded edge is pointing north.


Woohoo! Done.


I love the sleeves. And because it's actually cut for a maternity top, it's very breezy and light to wear. But I do wonder if it's a little too shapeless. What do you think?
I used the same pattern to make another top within a few days after I finished this. Stay tuned for more!
No comments:
Post a Comment
I love hearing from you! Please leave your comments here: